I love using BuildTak, I would go through almost 2 sheets every year due to scraping of the BuildTak Spatula. I try to be as gentle as possible, but that spatula is pretty sharp, and scrapes the bottom very easily. Before I print, I clean the surface with 99% IPA using a microfiber cloth. That usually works, lately I noticed nothing would stick.. I knew it was that time for a replacement..
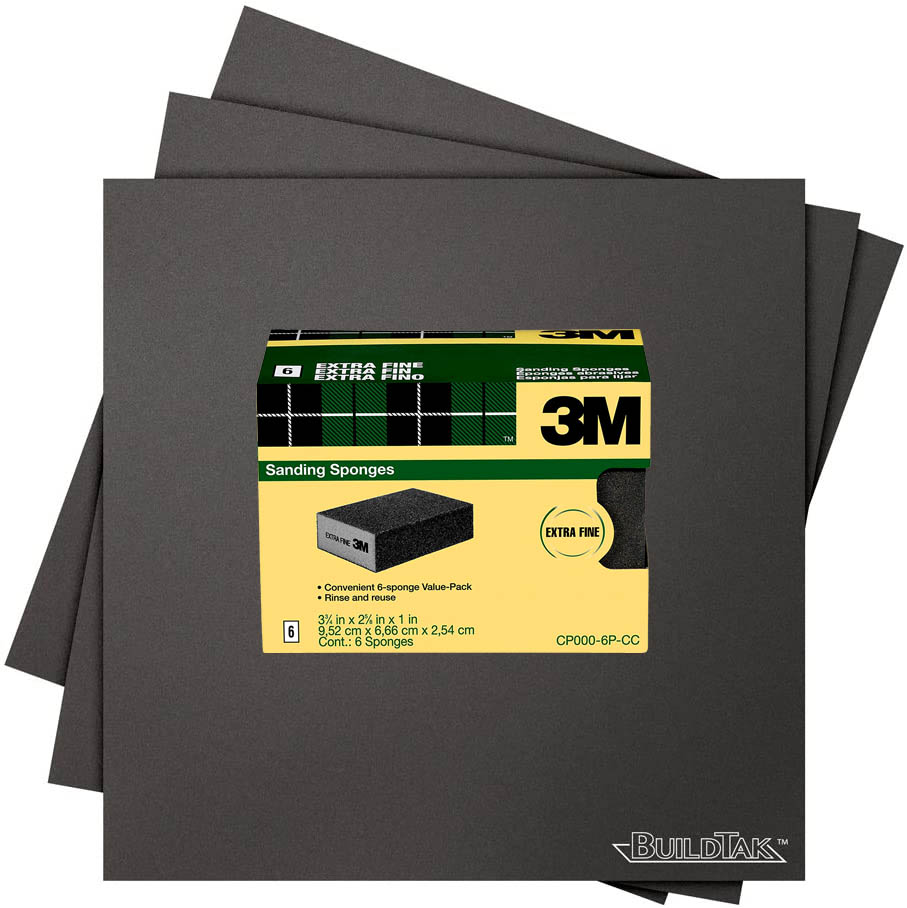
I went to order more but got an idea “hey, what if I sand it down?” I looked around the house for fine sandpaper and found a box of 3M Extra Fine 3D Sanding Sponges
Went to the printer and with light pressure, scrubbed all around the build plate. I saw scuffs and the pad showed signs of plastic residue.
I cleaned the build plate again with 99% IPA and started a difficult print. and my surprise it was restored!!! I swear it’s like new! I thought maybe it was a fluke, so I attempted a my new design, Star Trek Ready Room Sign IT STUCK SO WELL!!!
So scrub your buildtak with Extra fine sanding sponges!
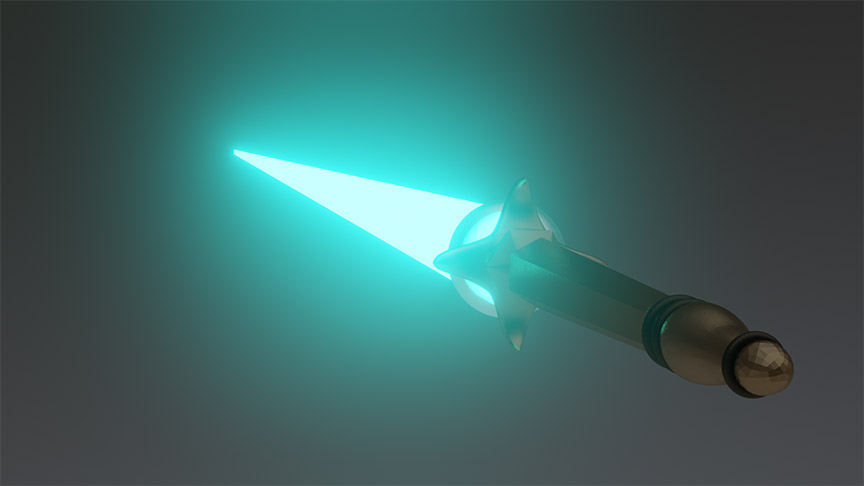
This scepter was a fun project! Can’t wait to start 3D Printing them!
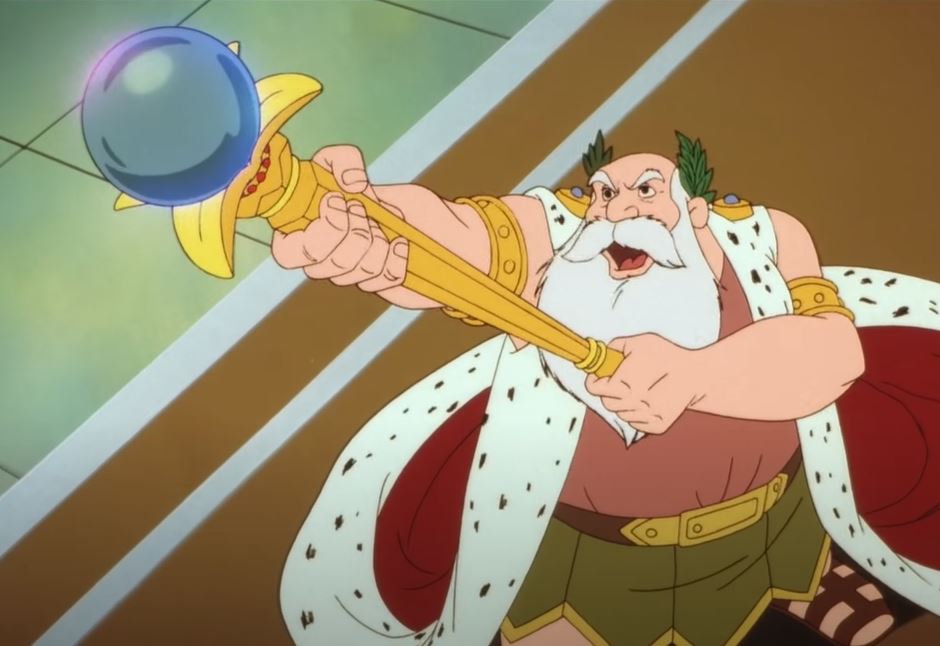
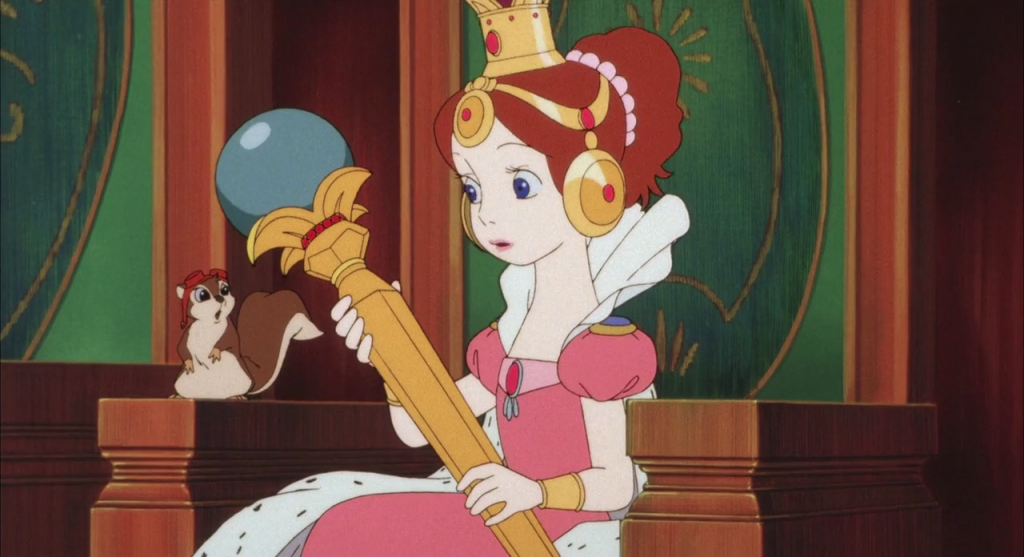
King holding the scepter
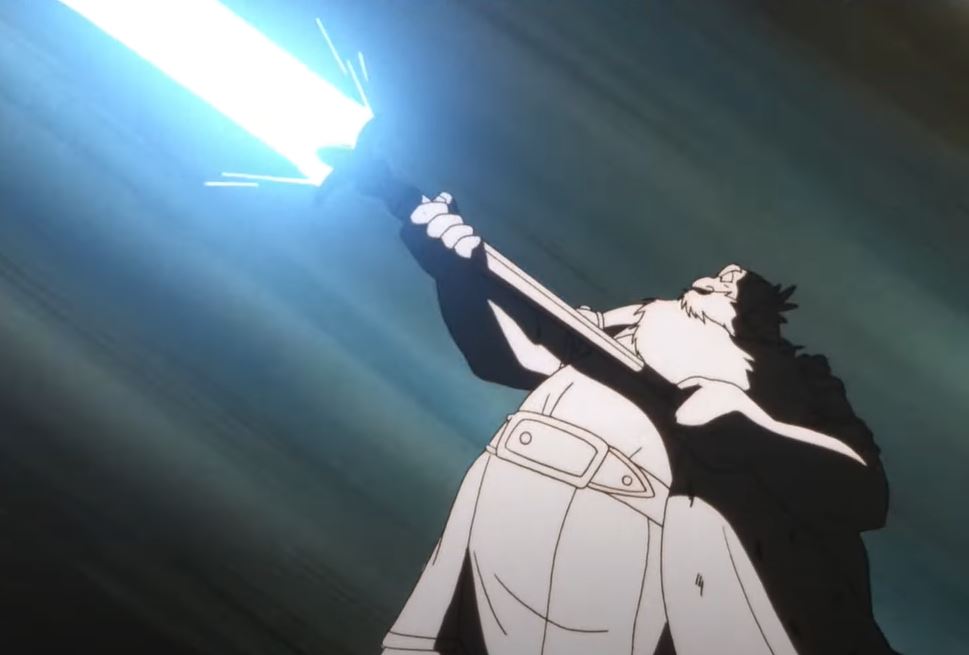
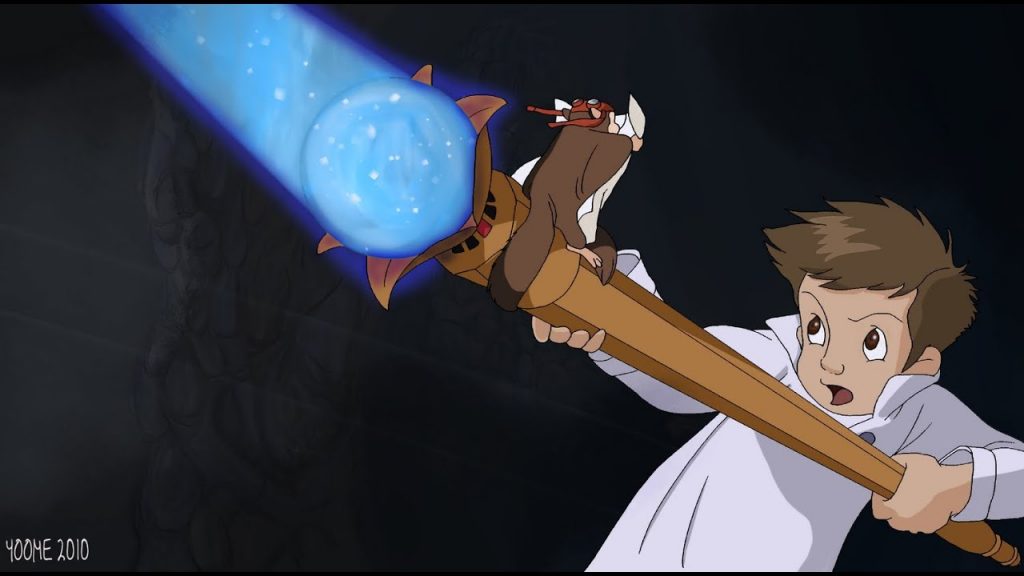
king shooting the scepter
Nemo shooting the scepter
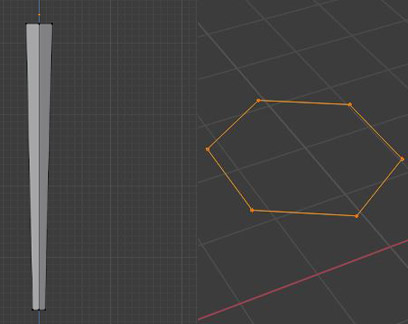
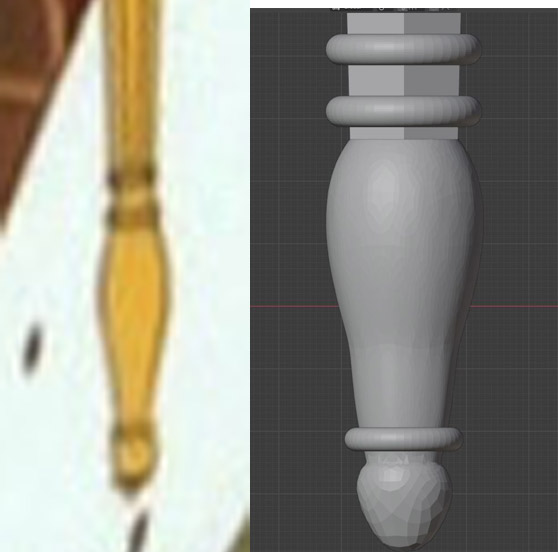
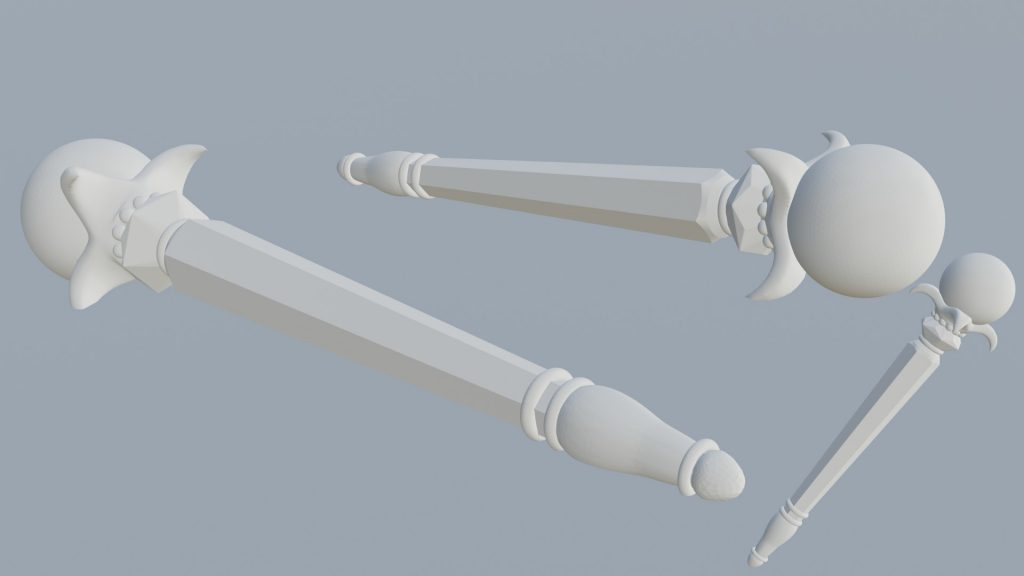
First I started with the shaft and worked my way up. The whole thing literally started with a hexagon.. and built up the staff. I didn’t know the exact size of the staff seeing it differs from person to person. When the king is holding it, it literally looks like a wand, but when Nemo holds it, its a HUGE staff. Anyhow. .. Yes.. Extruded the hexagon and scaled it to match a similar scepter size.
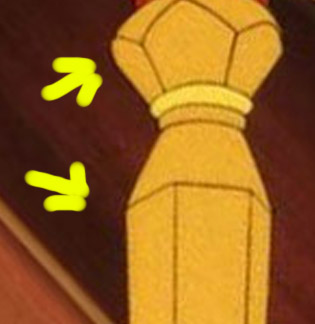
Now that I had that part semi-done, now for what would seem to be the easiest part was actually quite difficult for me. Creating this part of the scepter.
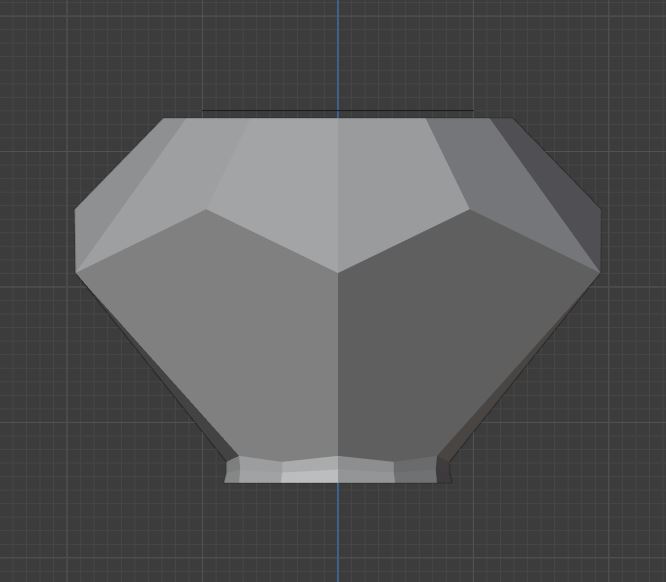
going from a hexagon to a cylinder and to a diamond shape to a round sphere. I can make it work with a ton of vertices, but I wanted to use as little as possible for clean 3D Printable mesh. It does sound easy, but I had a ton of issues exporting the model as an STL. each time it would break the geometry. Making it un-printable. But that was not the case. I ended up creating something that looks similar but not exact which was what I was going for. Maybe someday ill attempt it again. But for now this will do. Once I created the shape, I used the Multiresolution Modifier to make it right, and threw it in Sculpt, to get somewhat of a better look.
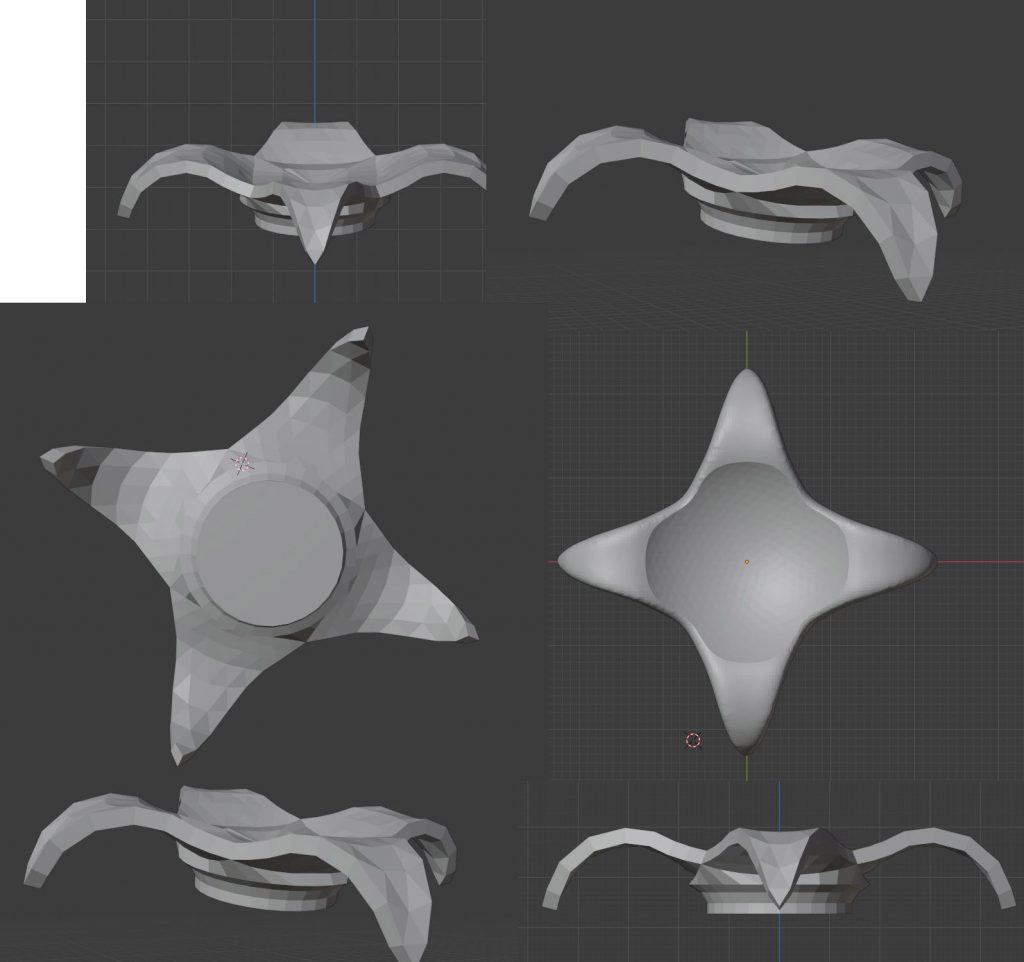
I moved on to the base of the sphere. Which was easier than I thought. again I used the extra Add Mesh tools Diamond. added a 4 facet diamond and selecting the top vertices and ripped it each one to create what looks of a flower. I sub divided multiple times and turned on proportional editing and grabbed the for corners, moving them down the Z axis. Selected the Base of the model with SHIFT+ALT to select and create a circle. Extruded down and filled it in, last I used the solidify modifier to create thickness. used multi res until it was smooth, grabbed a sphere and place it on top and used the Boolean tool to subtract it from the base to make a nice resting stop.
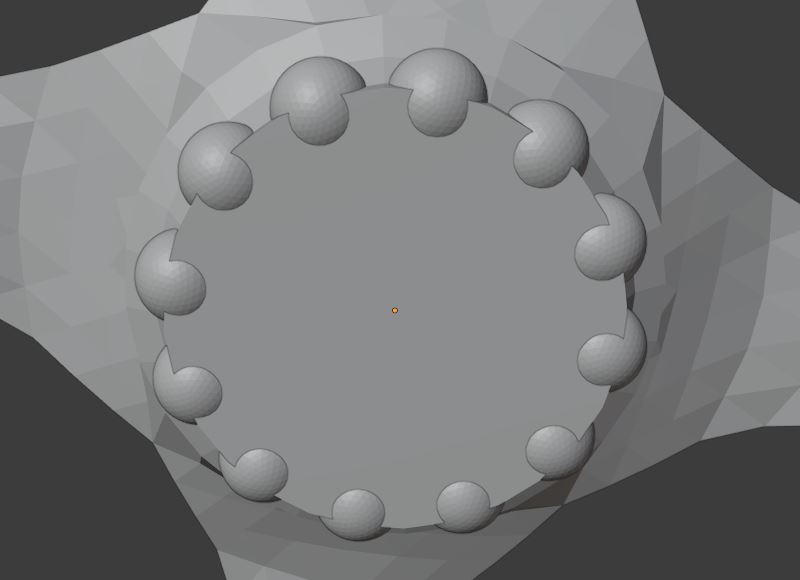
that out lining is circled with what looks like rubies, I took the circle path and had a sphere array on circle.
With that part complete, I can now focus on the bottom of the shaft and the rings.
For the rings I used the Torus and scaled it to fit the shaft. Duplicated a few time. for the end of the staff, I subdivided a UV Sphere and with proportional editing on, i set my view to the front and scaled the sphere to look like the shape of the end.
With it now all complete, I can multi res it scale it a decent size. This was the outcome!
I added textures, made a small animation. Used some Dragon Ball Z sound affect which turned out awesome!
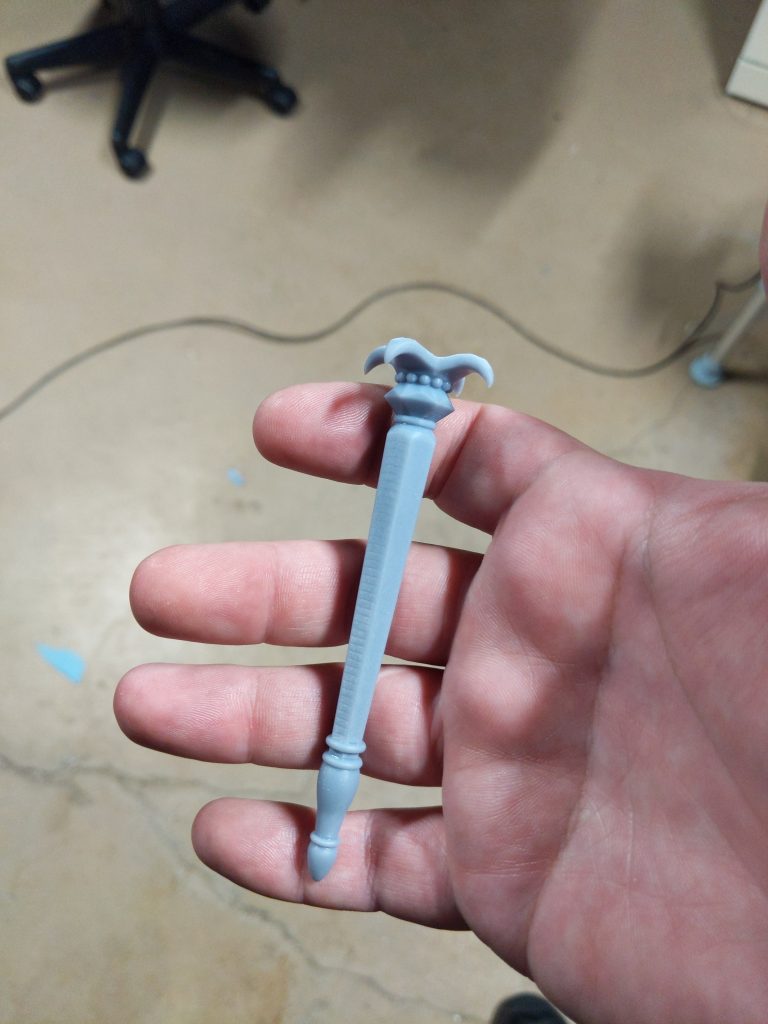
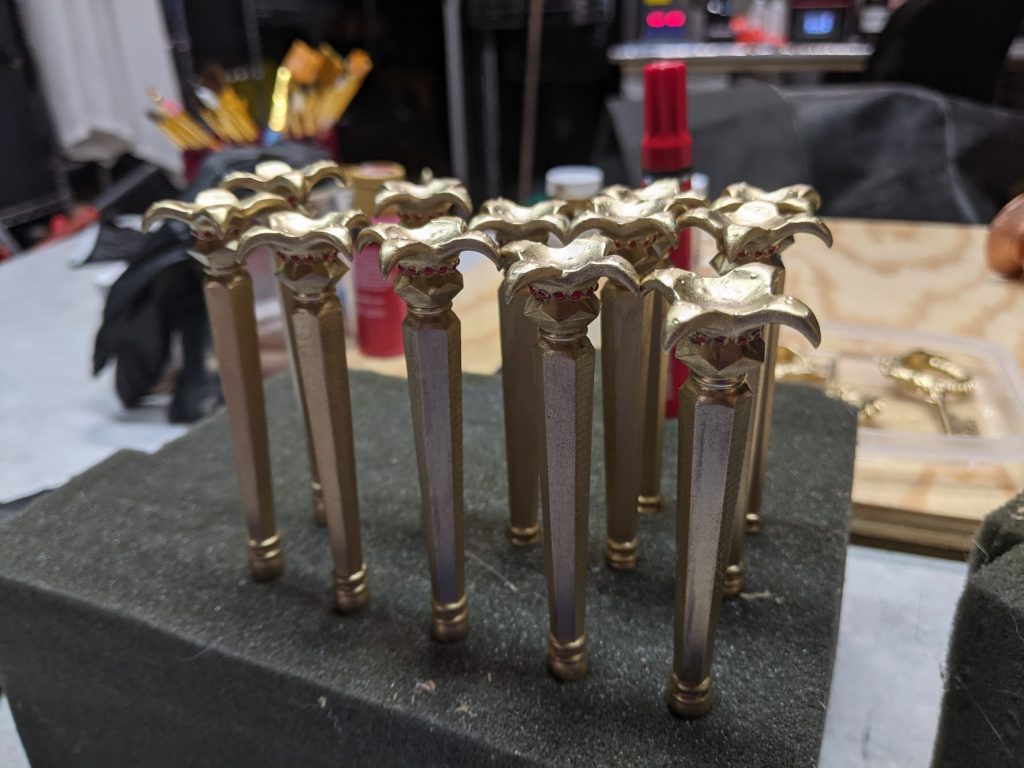
This was designed so that I can purchase some marbles and glue them to the top! First batch has been 3D printed! I can print 8 on one plate with the Elegoo Mars. I let them cure for 24 hours in UV light before I applied Gold Leaf paint. Used a red enamel paint pent for the gems. Now I wait for the marble!
This month is dedicated to Trains, Plains, & Automobiles! A broad selection of different models and makes! Check out these Free to download 3d Printable files of this months theme! #motorohead!
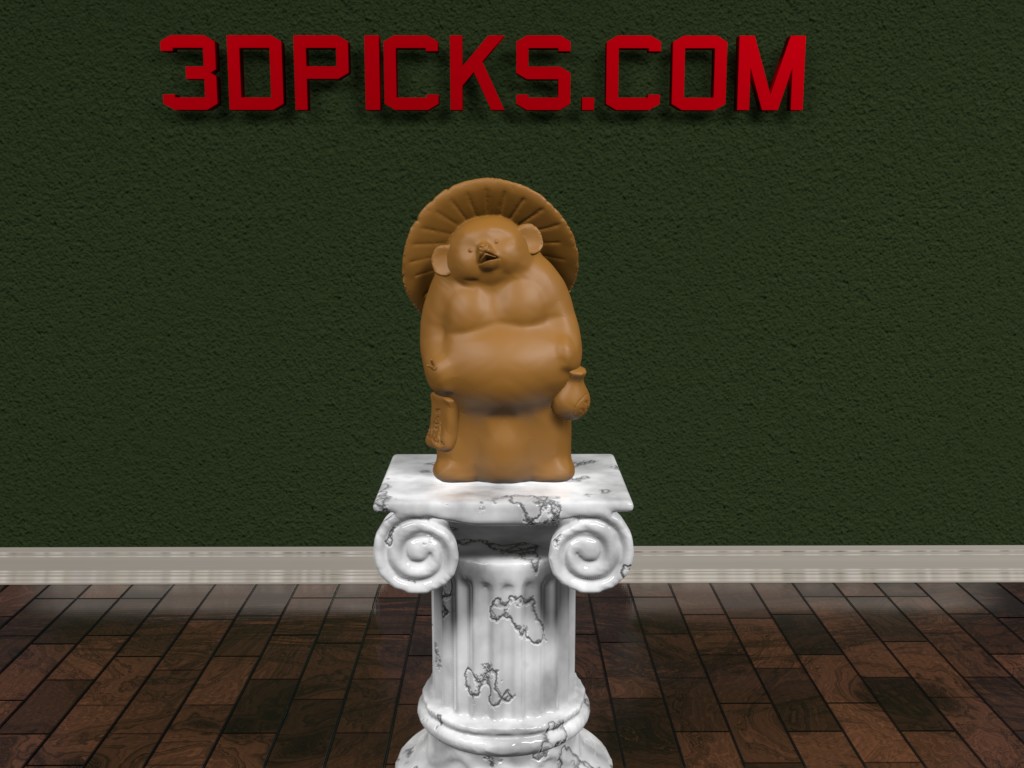
Get this cool Raccoon statue in a High resolution!
The Japanese raccoon dog (Nyctereutes procyonoides viverrinus), also known as the tanuki (Japanese: タヌキ or 狸; pronounced [taꜜnɯki), is a subspecies of the Asian raccoon dog.
The tanuki has a long history in Japanese legend and folklore. Bake-danuki (化け狸) are a kind of tanuki yōkai (supernatural beings) found in the classics and in the folklore and legends of various places in Japan.
Able Sisters is a clothing shop/tailor shop, and one of the main stores in the Animal Crossing series. It is owned and run by Sable and Mabel, and in Animal Crossing: New Leaf, the third sister Label owns an attachment to the shop that sells accessories. Get this 3D printable file now!
July is coming up fast! And i’ll be at be back on the road! This means that I’ll have little to no time for creating. I’ll try to post one here and there but starting July, it’s gonna be a little scarce.
So I’m going to start work on the July theme which is Retro Tech! 80’s and 90’s computer brands, Toys, you name it! I’ll me updating this thoughout the month of July.
If you have any recommendations let me know! I love to hear ideas and always taking request!