This scepter was a fun project! Can’t wait to start 3D Printing them!
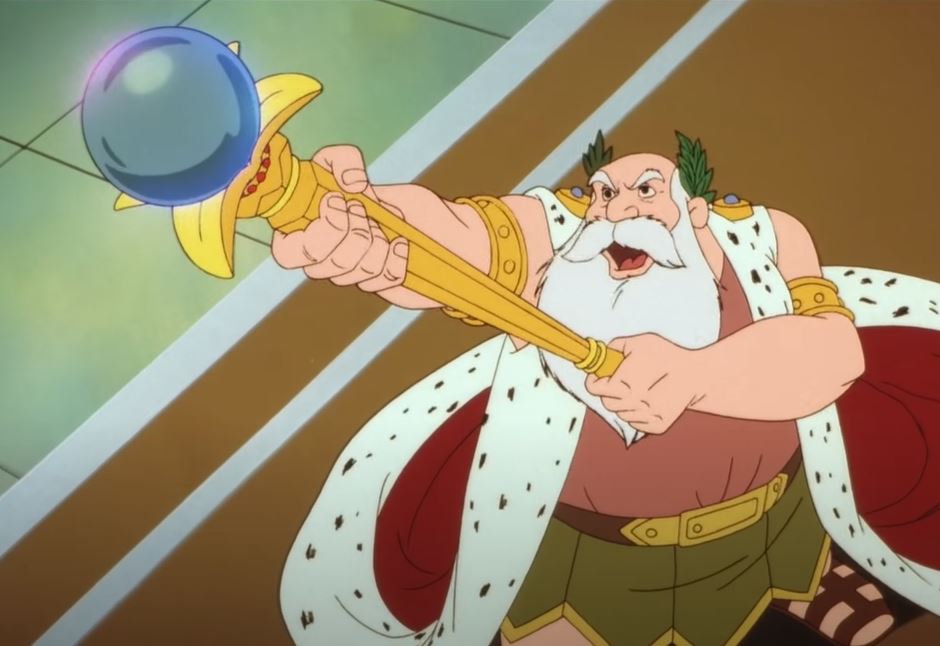
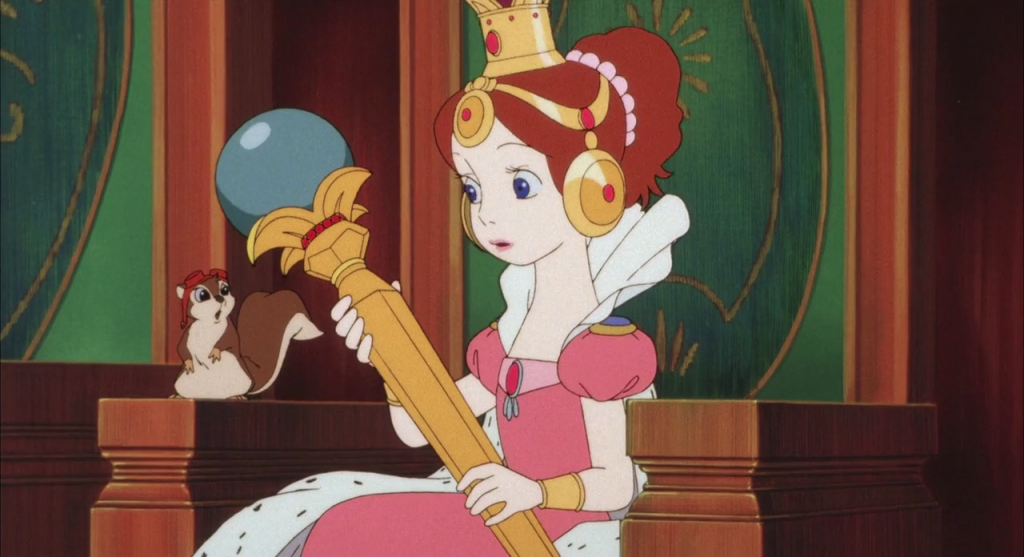
King holding the scepter 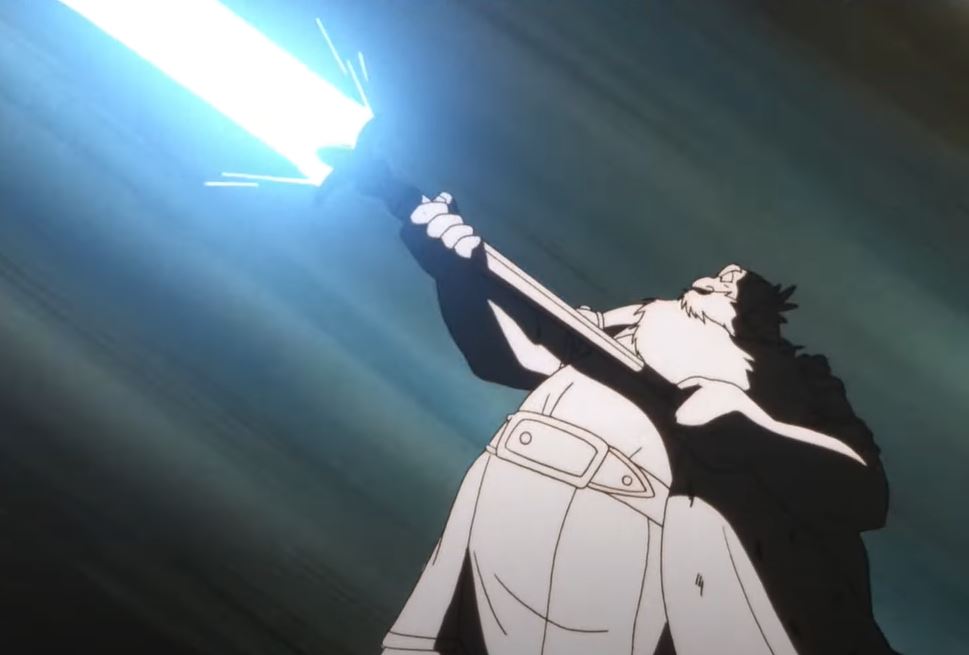
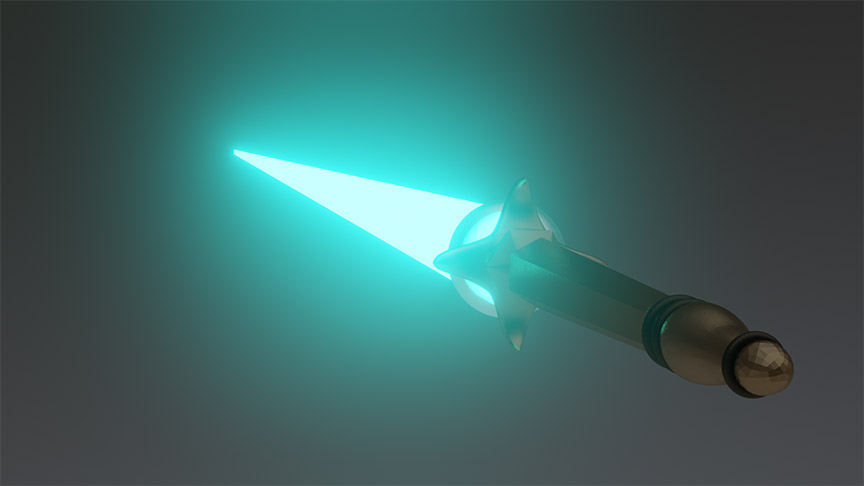
king shooting the scepter 
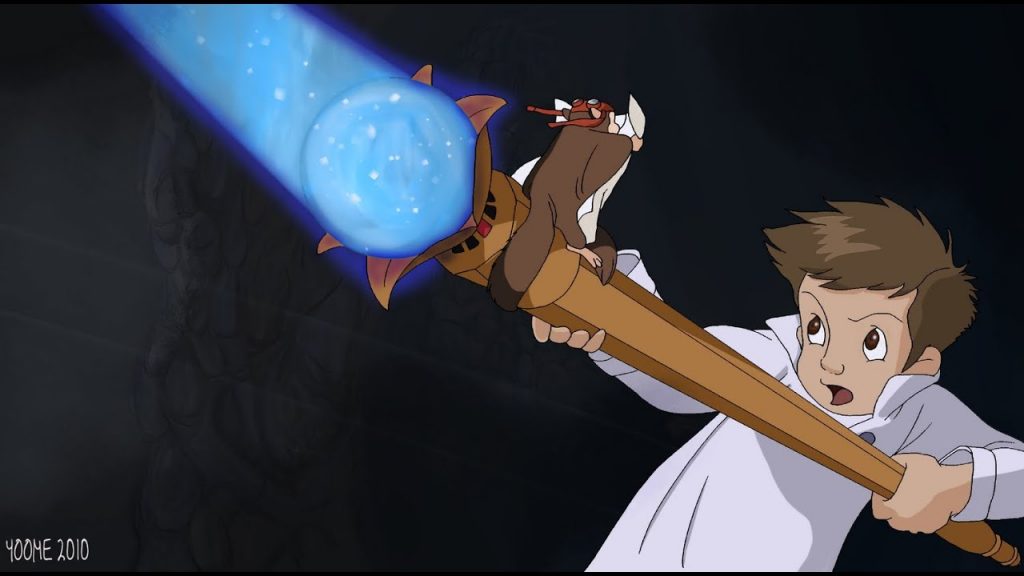
Nemo shooting the scepter 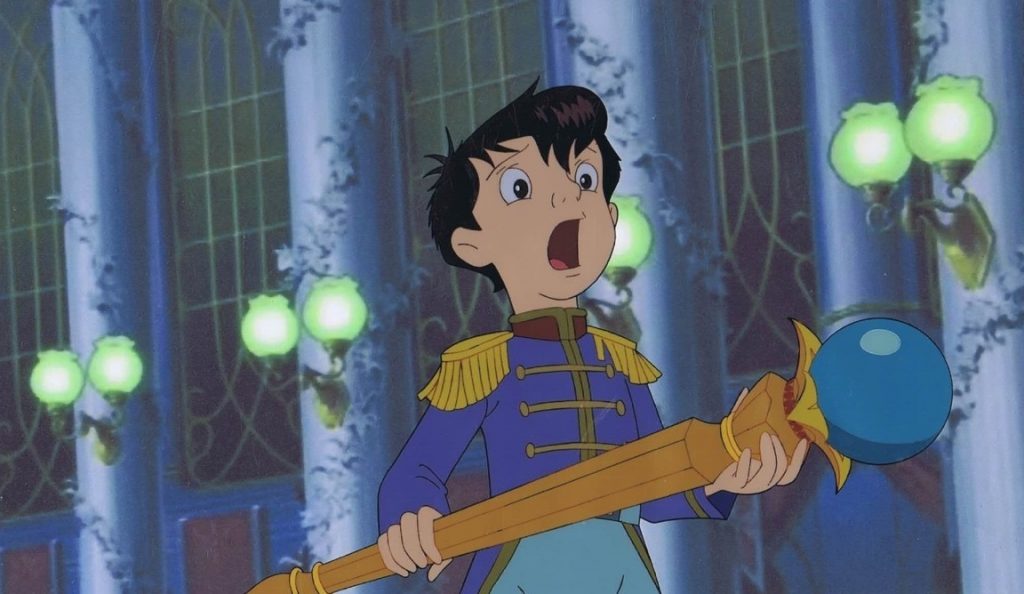
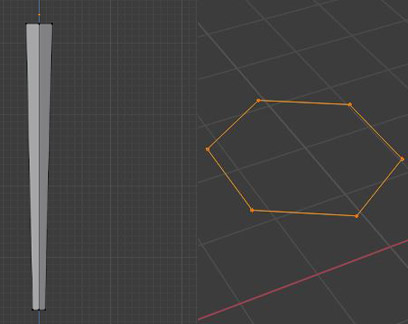
First I started with the shaft and worked my way up.
The whole thing literally started with a hexagon.. and built up the staff. I didn’t know the exact size of the staff seeing it differs from person to person. When the king is holding it, it literally looks like a wand, but when Nemo holds it, its a HUGE staff. Anyhow. .. Yes.. Extruded the hexagon and scaled it to match a similar scepter size.
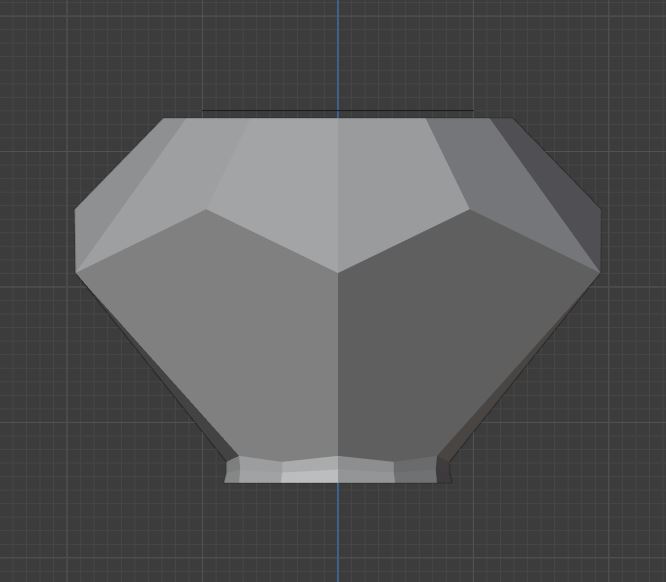
Now that I had that part semi-done, now for what would seem to be the easiest part was actually quite difficult for me. Creating this part of the scepter.
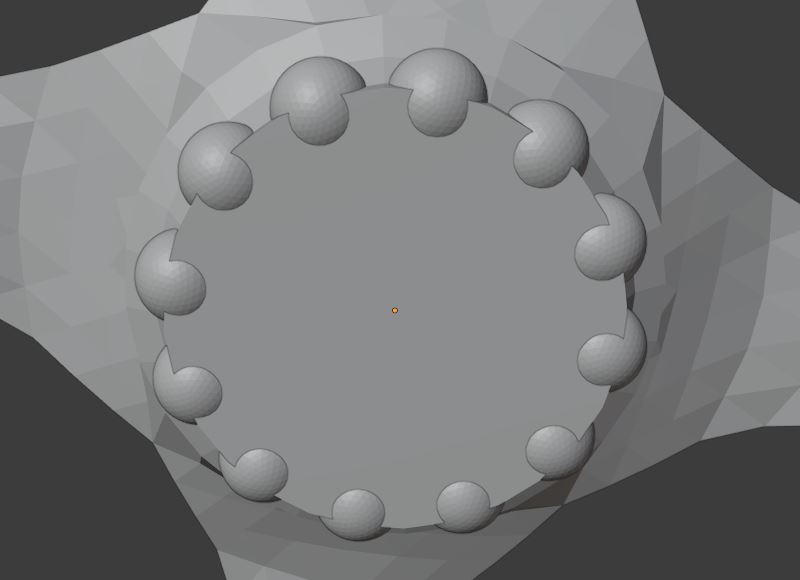
going from a hexagon to a cylinder and to a diamond shape to a round sphere. I can make it work with a ton of vertices, but I wanted to use as little as possible for clean 3D Printable mesh. It does sound easy, but I had a ton of issues exporting the model as an STL. each time it would break the geometry. Making it un-printable. But that was not the case. I ended up creating something that looks similar but not exact which was what I was going for. Maybe someday ill attempt it again. But for now this will do. Once I created the shape, I used the Multiresolution Modifier to make it right, and threw it in Sculpt, to get somewhat of a better look.
I moved on to the base of the sphere. Which was easier than I thought. again I used the extra Add Mesh tools Diamond. added a 4 facet diamond and selecting the top vertices and ripped it each one to create what looks of a flower. I sub divided multiple times and turned on proportional editing and grabbed the for corners, moving them down the Z axis. Selected the Base of the model with SHIFT+ALT to select and create a circle. Extruded down and filled it in, last I used the solidify modifier to create thickness. used multi res until it was smooth, grabbed a sphere and place it on top and used the Boolean tool to subtract it from the base to make a nice resting stop.
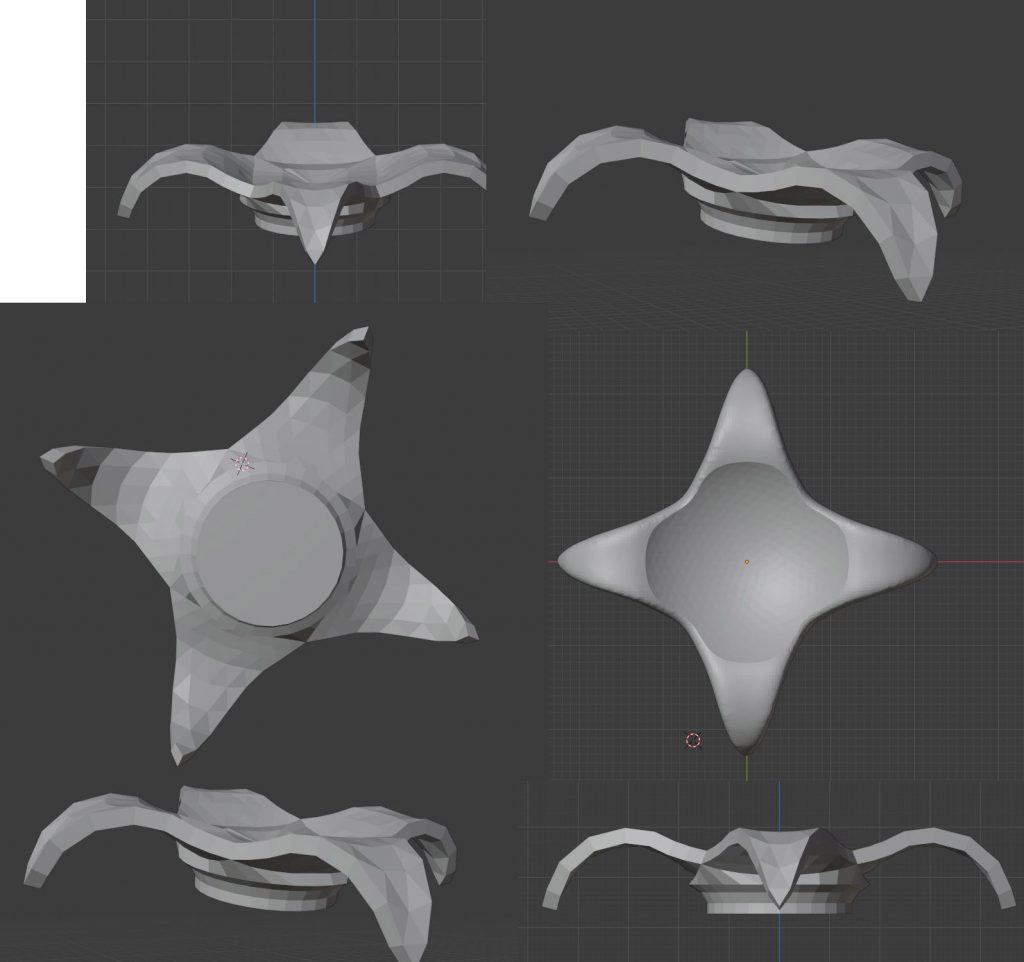
that out lining is circled with what looks like rubies, I took the circle path and had a sphere array on circle.
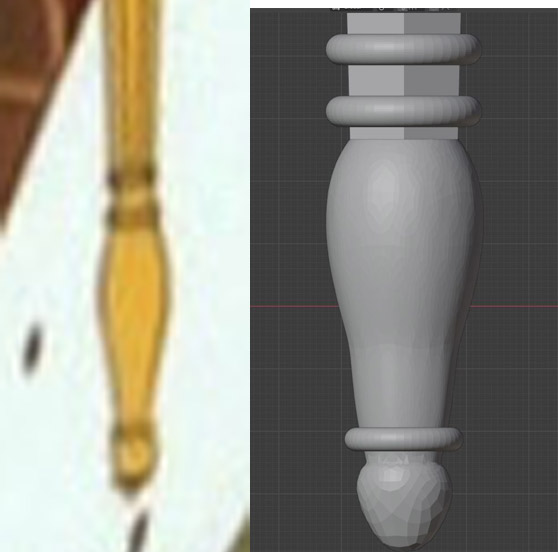
With that part complete, I can now focus on the bottom of the shaft and the rings.
For the rings I used the Torus and scaled it to fit the shaft. Duplicated a few time. for the end of the staff, I subdivided a UV Sphere and with proportional editing on, i set my view to the front and scaled the sphere to look like the shape of the end.
With it now all complete, I can multi res it scale it a decent size. This was the outcome!
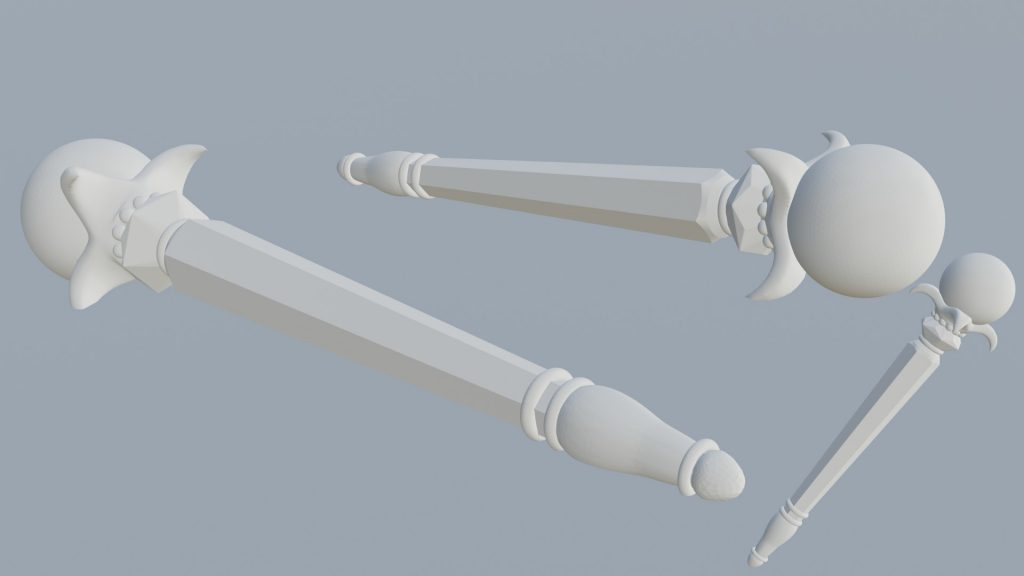
I added textures, made a small animation. Used some Dragon Ball Z sound affect which turned out awesome!
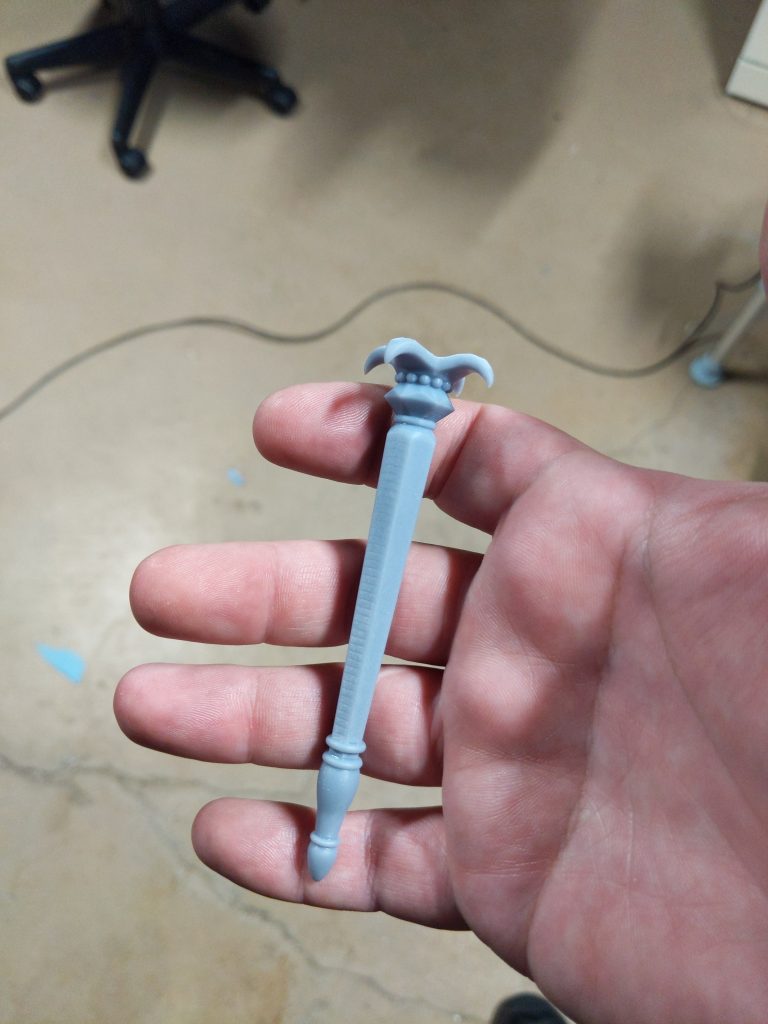
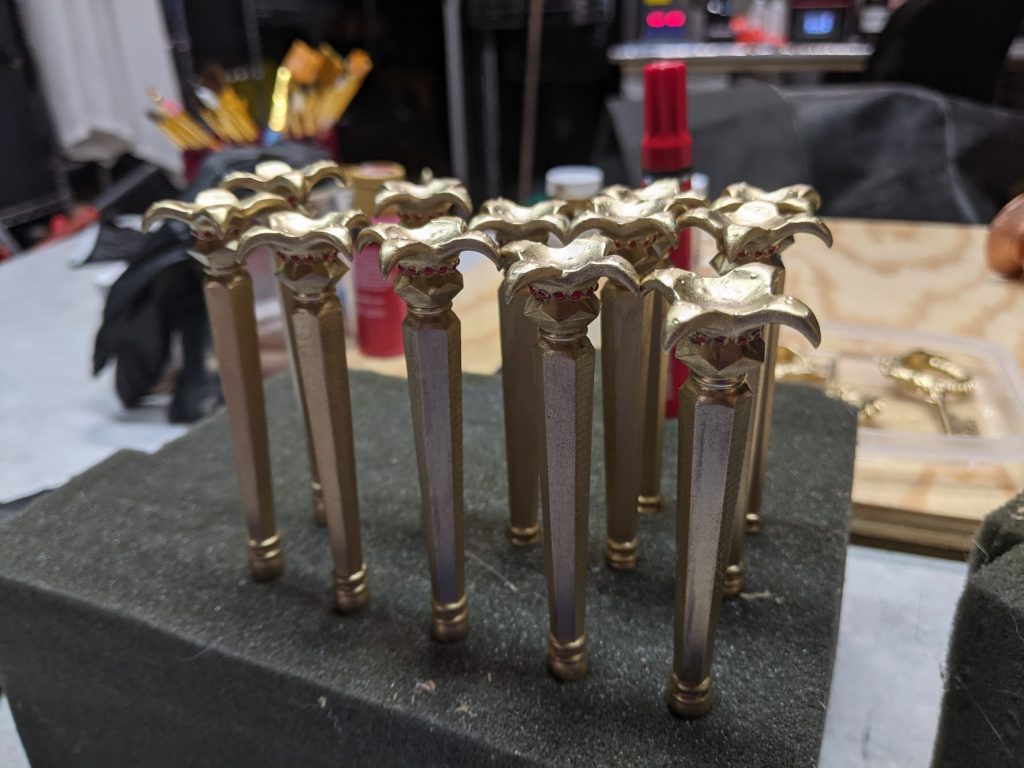
This was designed so that I can purchase some marbles and glue them to the top! First batch has been 3D printed! I can print 8 on one plate with the Elegoo Mars. I let them cure for 24 hours in UV light before I applied Gold Leaf paint. Used a red enamel paint pent for the gems. Now I wait for the marble!
Power Demonstrations.